Dark Skies Made Simple: A Camper's Guide to Night-Sky Photography
The camera in your pocket is now good enough to capture the Milky Way. What to look for, how to shoot it and where light pollution is thinnest.
Published
Night-sky photography used to require serious equipment and expertise. It still can, at the high end, but the entry point has moved dramatically. A recent flagship smartphone in good conditions can capture a genuinely publishable image of the Milky Way. This piece is a practical primer for campers who want to make the most of the night sky they are already sleeping under.
Understanding light pollution
The Milky Way is faint. It is easily washed out by even modest artificial light in the sky. The Bortle Scale, from one to nine, describes how dark a sky is; classes one and two are genuine dark-sky sites, where the Milky Way casts a shadow. Class three is very good; class four is where the Milky Way remains clearly visible but detail begins to fade.
Free apps and websites map light pollution globally. Before a trip, check the Bortle class of your destination. Almost any location west of the Mississippi and away from major cities is class three or better; the best sites in the American West are class one.
The moon matters more than most people think
A full moon washes out the Milky Way almost completely. For dark-sky photography, plan trips around the new moon, or around the hours before moonrise or after moonset. Apps that show moon phase and rise/set times for your specific location are essential.
The trade-off is that a moonlit landscape is beautiful in its own right, and often produces more evocative photographs than a fully dark scene. Do not skip camping trips just because the moon is out; adjust what you shoot.
Basic technique
For a phone, use the built-in night or astro mode and a stable surface — a small tabletop tripod is the single most valuable accessory. Expose for at least fifteen seconds, ideally thirty. Do not touch the phone during the exposure; use a timer or a voice command.
For a mirrorless or DSLR camera, the classic starting recipe is a fifteen- to twenty-five-second exposure at f/2.8 and ISO 3200 with a wide-angle lens. Adjust from there. The 500 rule (500 divided by focal length equals maximum exposure in seconds before star trails) is a useful upper bound.
Composition
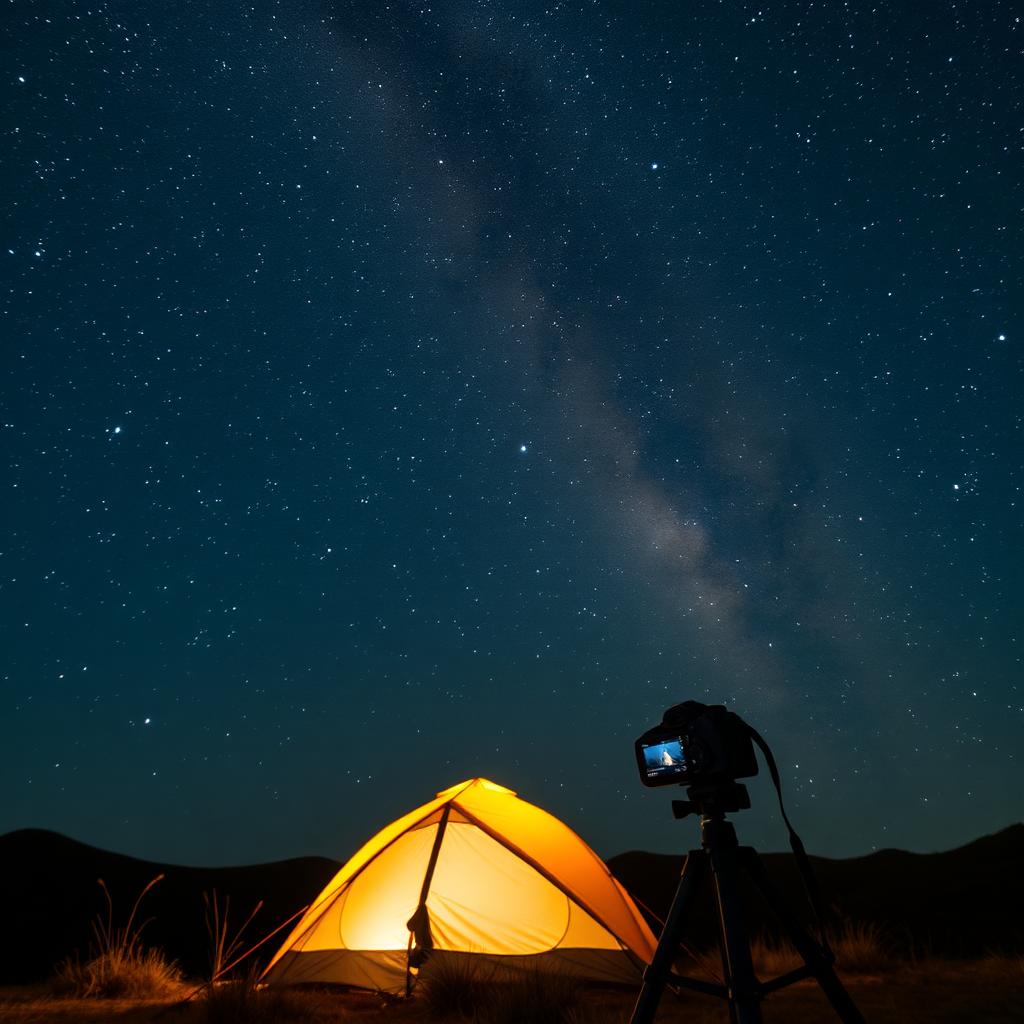
A striking night-sky photo almost always includes something in the foreground: a tent lit softly from within, a rock formation, a lone tree, a person with a headlamp. Pure sky photographs are difficult to make interesting. Look for compositions that use the landscape and the sky together.
The Milky Way's galactic core is most photogenic when it stands roughly vertical over a compelling foreground. In the northern hemisphere, this happens in the southern sky, from about April through September. Plan your composition around where the core will be, using an app that shows its position for your date and time.
Camp habits for dark skies
Turn off unnecessary lights. Every camp lantern and headlamp reduces your own eyes' adaptation to the dark and disrupts other campers' night vision. Use red-light modes and the lowest brightness that lets you accomplish what you need.
Give your eyes twenty to thirty minutes to fully adapt to the dark before evaluating the sky. Most people underestimate how much the sky reveals once fully adapted; features that seemed invisible pop out clearly by minute twenty-five.
The night sky is a resource we are steadily losing to light pollution. Camping in dark places, taking a few images to share, and helping others notice what we still have are all small acts of preservation.